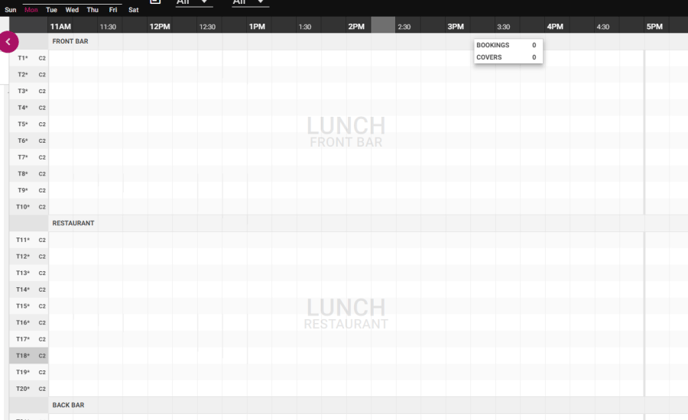
The Diary View is a linear view of the venue, with all table inventory listed down the left hand side of the screen, and a Gantt-style view of seating times along the top.

Each of the venue's sections will be separated by a heading as shown above. Any bookings that are made via the online widget or by staff will appear here.
There are two ways to add a booking in to the Diary:
Select a timeslot on the screen where you would like to make a booking and double click. This will open the Booking Form window and allow you to manually add in the details of the customer to create a reservation. The time and service will be automatically selected to where you double clicked in the timeline.
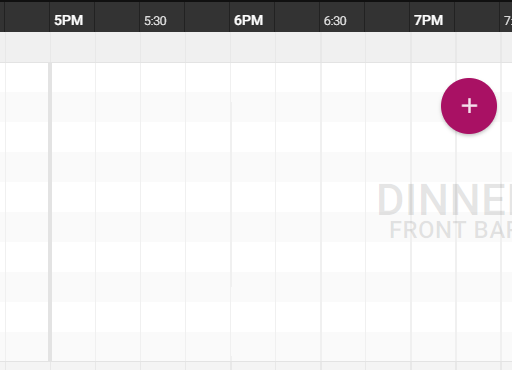
Alternatively, select the + button in the Diary. This will prompt the New Booking Form to pop up, and you can follow the same steps to complete a manual reservation.
-
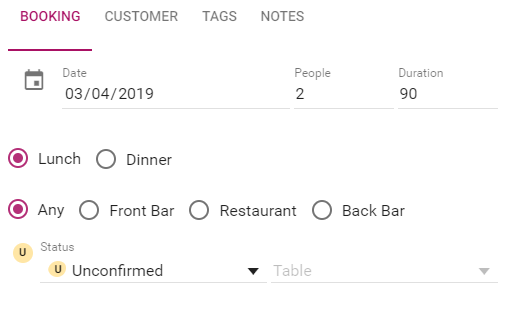
Date will automatically be populated to the day you are in the diary.
-
Select the number of covers for your booking.
-
The booking duration is prefilled according to what you initially set up in your settings (see here for more details on adjusting booking durations). You can also edit this on the spot if you wish to change the duration of the booking.
-
Select your Service and Section.
-
Statuses can be amended from this screen if you wish—but will be automatically adjusted by the system as a customer moves through the booking process.
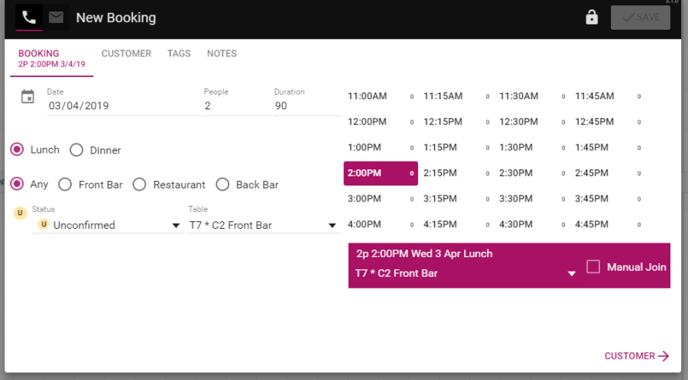
6. The Table field is only populated when double clicking on the grid to make the booking. If the booking has been created via the + button it will remain blank. This can be edited via the drop down menu for bookings made in the grid, or in the automatic table section box (the pink rectangle).
7. The automatic table selection tool contains all the predetermined parameters selected by the venue in the initial setup process.
8. Select the Time.
9. A table will automatically be selected based on the parameters you have selected.
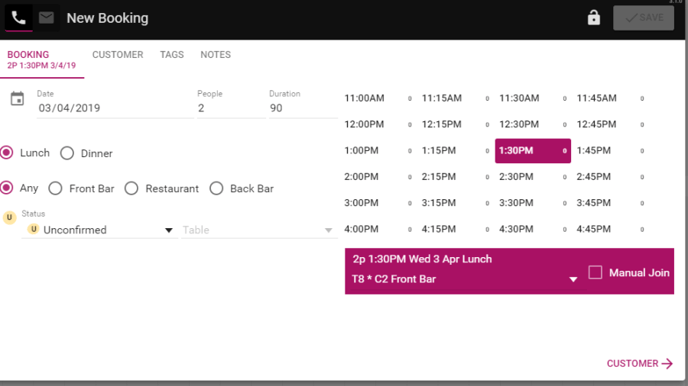
10. From here you can select from the drop down to choose an alternate table from the list.

11. If you wish to create an on-the-spot table join, select the Manual Join tick box as shown below.


12. Next, select Customer (either via the tab on the top of the panel or the bottom right corner with the arrow). This will then take you to the Customer data tab, where you can fill in the customer's information. We recommend asking for their mobile phone number first, as this is easiest to pull up in future in your database.

Entering the phone number will start to display entries in the database

13. If you find a matching number, select that customer. If not, a new customer will be added to your customer database at the completion of the booking—so the more information you can provide the better.
14. First Name, Last Name, Mobile and Or Email are mandatory for booking creation.
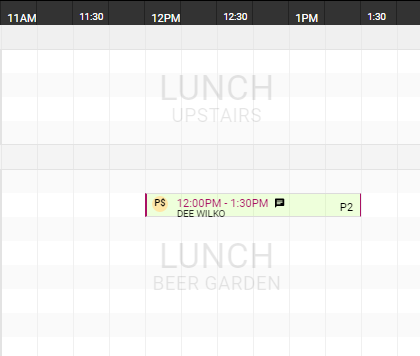
15. Select Save. The booking will now appear in your Restaurant Diary timeline and show the start and end time of the booking. End times are not shown if the booking is 60mins or less.