Manage Floor Plan Settings
- In your restaurant diary, click on the three white lines on the top left-hand corner of your page, then click Settings.
- Once in Settings, select Floor Plan Settings under Tables on the left hand side

Zoom settings determine how the floor plan looks on your screen. There are 3 zoom settings:
- Overview
This manages the overview of the whole venue. For large venues, 50% is recommended. - Section - Status
- Section - Schedule
Both section settings manages the view of a particular section, making it easier for you to interact with the floor plan.You can set section zoom based on the size and number of tables in that section. If a section is too large, you may need to break these out - for example, left of kitchen and right of kitchen instead of just kitchen. This will make it easier to view all the tables in a single section.
Show section titles
This manages if the names on the sections are shown or hidden on the Floor Plan.

- If this to toggled on to show section titles, you will see the section names above the tables within the floor plan

- If this to toggled off to hide section titles, you will only see the section name in the selection bar above.

This manages how much availability in time is left for the table, so you can decide whether to place a next booking on that table. It is best to make the max availability length shown the same as the booking duration you've set for the service.

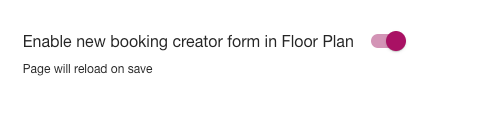
Enable new booking form in Floor Plan