Contact Details
-
To enable the integration: contact the NBI Customer Support team at help@nowbookit.com
What the Integration Does
-
When a booking in Now Book It is set to “Seated”, an order (with customer details if available) is created in Lightspeed.
-
When the corresponding Lightspeed order is checked out, the booking status in NBI is automatically updated to “Finished”.
- Lightspeed will update Now Book It with your customer's Sales data.
Create a booking in NBI
-
Log into Now Book It Admin:
 Admin: Now Book It
 -
Click on ‘Open Restaurant’ button.

-
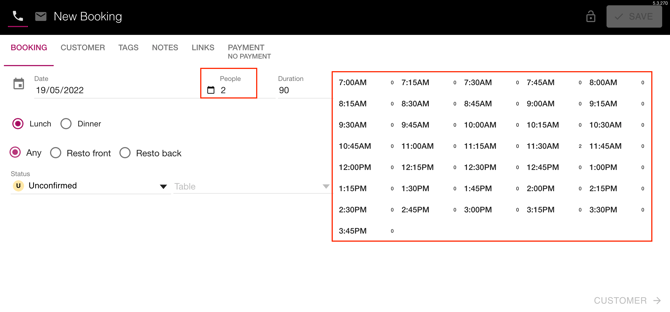
When the Restaurant opens, click on the '+' button.

-
A booking pop up will appear.
-
Select the below:
-
booking time (right panel).
-
Number of people for the booking (if more than the default value).
-
-
Select the ‘Customer’ button.
NOTE: this button will only appear when the booking time is selected.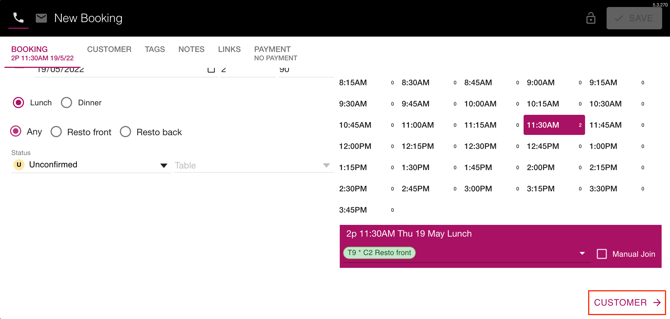
-
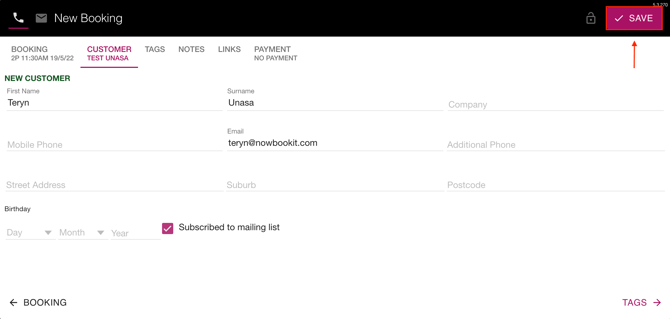
For the customer enter the below data at a minimum:
-
First Name
-
Surname
-
Mobile Phone or Email
NOTE: The ‘Mobile Phone’ and ‘Email’ fields are what the matching criteria/de-dupe process is based on. See the section ‘Customer creation’ for more information.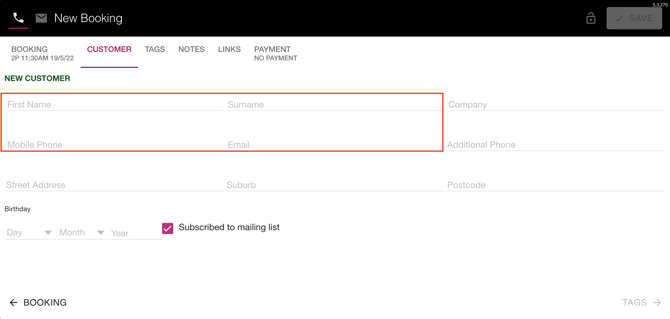
-
-
Once the above is entered, click on ‘Save’ button.
-
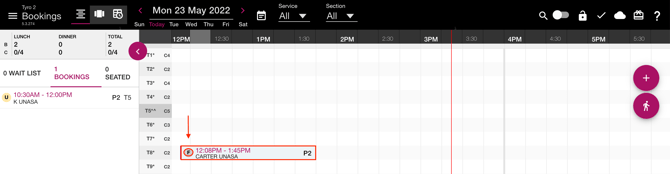
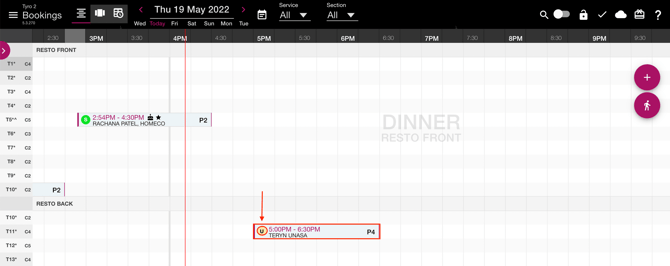
Find the booking created on the Diary.
-
Click on the status of the booking.
-
Set the booking to the status ‘Seated’.
NOTE: The booking will only appear in Lightspeed if the status of the booking is set to ‘Seated’.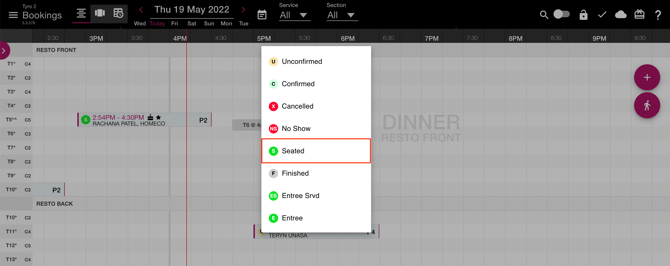
Customer creation
There are a couple of rules for customer matching between NBI and Lightspeed. A customer will be created in NBI first and linked in Lightspeed.
-
If there is no match to email address or phone between NBI and Lightspeed then a new customer is created in Lightspeed.
-
If there is an email address match between NBI and Lightspeed then the customer is linked.
-
If there is a name and phone match between NBI and Lightspeed then the customer is linked.
-
If the name of the customer is different in NBI but the email or phone number matches in Lightspeed the customer is linked with no changes to the name.
-
Walk-ins in NBI don't have customer details (in most cases) so customer details won’t be created in Lightspeed.
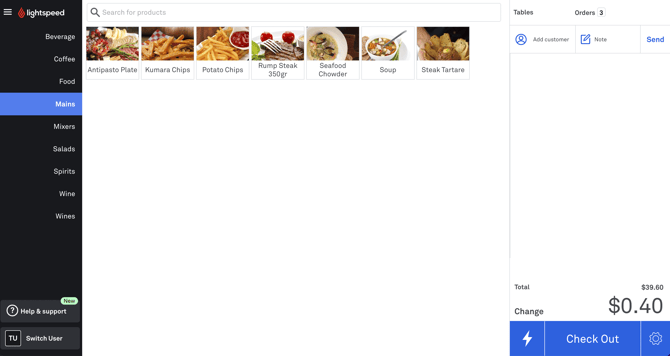
Find order in Lightspeed
-
Click on ‘Orders' tab.

-
Under the ‘Orders’ tab (selected by default), click on the Order that was created for the booking in the above section.
NOTE: When a new order appears the number of orders will be highlighted in orange. The order will have a ‘New’ label.
-
To find the correct Order the below information will be available from the Booking.
-
Customer Name (First and/or Last Name).
NOTE: If a customer is not linked then the order number will appear instead (see below). -
Table number.
-
Time booking was seated.

-
-
If a customer is not linked to an order then the order number will appear instead.
-
Order number.
-
Table number.
-
Time booking was seated.

-
Deposits & Pre-payments
- If the booking has a deposit or pre-payment, at the time of accepting the customer, seat the booking in the Now Book it Diary.
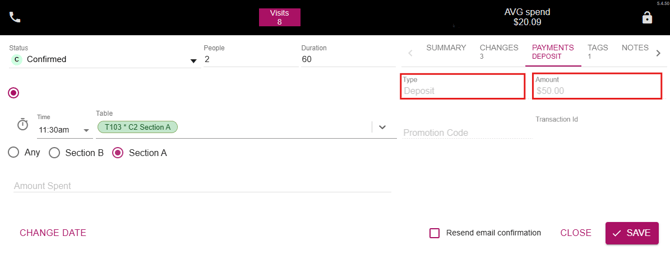
- Find the corresponding booking in Lightspeed and accept it.
- Verify the deposit on the order.
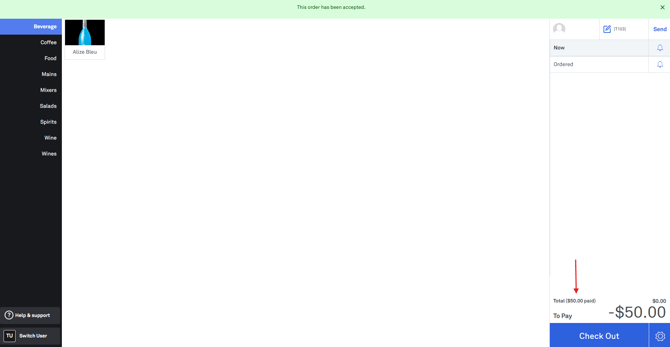
- Process the remaining balance by adding your stock and complete the order when required.
Pay for an order
-
Once the ‘Check Out’ button is selected, the Payment pop-up will appear
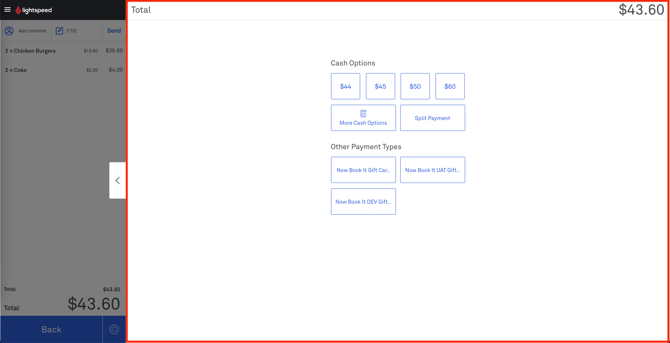
-
Either:
-
Select a ‘Cash Option’.
-
Select ‘Split Payment’. See the article ‘Gift card Integration’ for details.
or -
Pay with 'Now Book It Gift Card'. See the section ‘Gift card Integration’ for details.
-
-
Once payment is complete, a ‘Transaction Successful!’ message will appear.
For testing purposes, select ‘No Thanks’.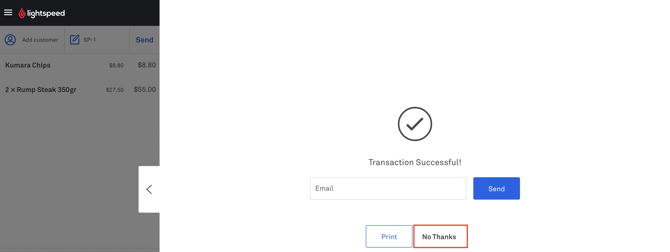
-
User will be redirected back to the order.
-
A ‘This order has been completed.’ message will appear.

-
Go to Now Book It Diary. The booking will have an updated status of ‘Finished’.